给家里的 Home Server 换了个 SSD,加了 4G 的内存,终于不用受制于硬件条件节衣缩食了(bushi。打算把原来的服务都换成 Docker 容器来进行统一管理,方便今后备份和迁移。
Home Server 配置:
原机是升腾 D160 瘦客户机,待机功耗只有 6W,即使是满载功耗也只有 10W 左右。
硬件 型号 规格 CPU Intel Celeron J1800 2x2 Core 2.415GHz Memory Unknown 4G SSD Unknown 32G(mSATA) Power - 10W DC 由于这个主板只有一个 mSATA 口,虽然有 SATA2 接口但是这个 DC 电源没法给机械供电,而且机箱的空间也不足以再加一块硬盘,于是 PDD 上淘了一块 128G 的 mSATA 盘换上了。
Home Server 概况
这台 Home Server 上搭建了以下服务:
| 服务 | 用途 |
|---|---|
| qBittorrent | 利用 RSS 订阅服务下载新番 |
| DDNS-GO | 仅对 IPv6 进行动态 DNS 解析 |
| Gitea | 私有 Git 库 |
| MariaDB | 存储服务数据 |
| Nginx | 反向代理服务 |
| AdGuard Home | 私有 DNS 服务器 |
| RSS Proxy | 仅对 RSS 订阅进行代理 |
| ztncui | Zerotier Moon Server,用于组建虚拟局域网(游戏联机用 |
| Samba | 局域网文件共享 |
| WebDAV | 互联网文件共享 |
服务迁移
数据备份
主要是 MariaDB 的数据和各服务的配置文件及资源文件。
数据库迁移
mysqldump -u root -p giteadb > giteadb.sql
将 giteadb.sql 文件保存好,用于恢复数据。
服务配置迁移
| 服务 | 配置文件 |
|---|---|
| qBittorrent | $HOME/.config/qBittorrent |
| Gitea | $HOME/gitea |
| DDNS-GO | /opt/ddns-go |
| Nginx | /etc/nginx |
| AdGuard Home | $HOME/adguardhome |
| RSS Proxy | $HOME/rss-proxy |
| ztncui | /var/lib/zeretier-one/opt/key-networks/ztncui |
| Samba | /etc/samba |
| WebDAV |
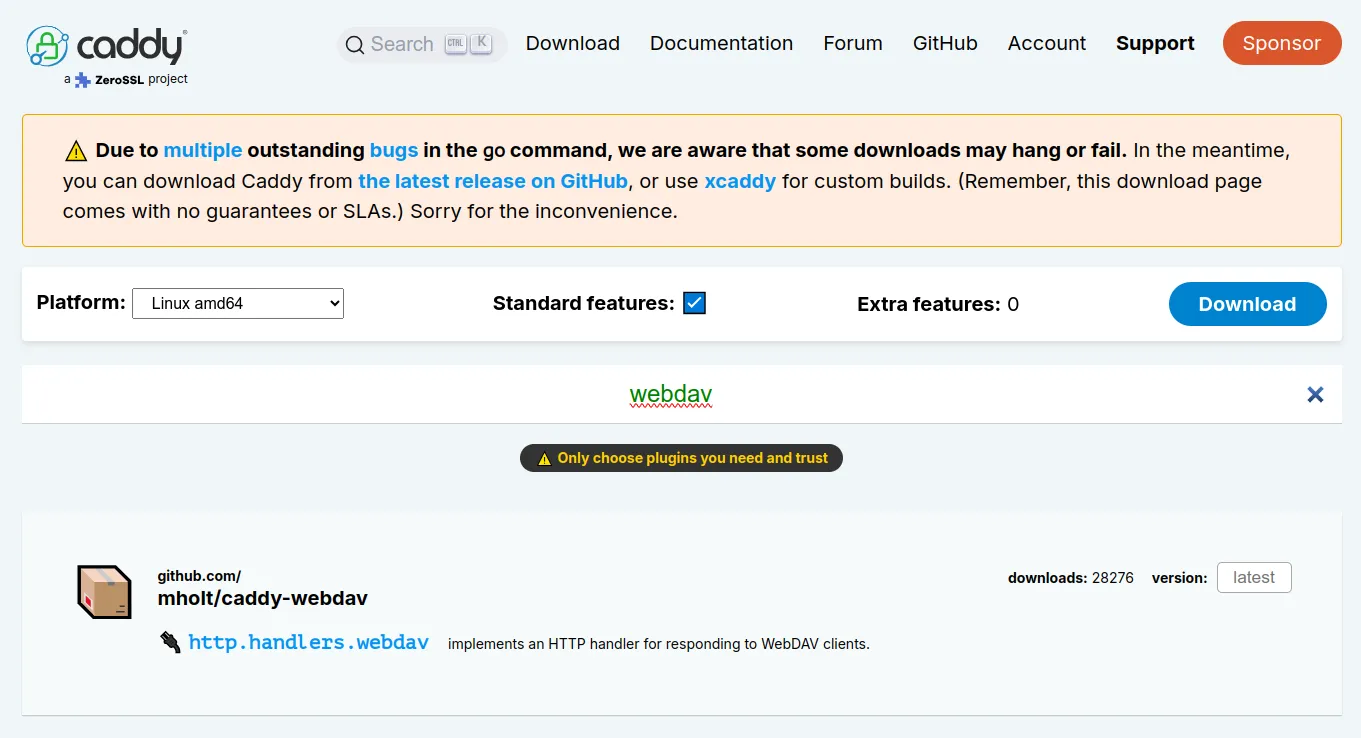
由于官方的 Nginx 镜像没有编译 WebDav 模块,如果要启动 WebDav 需要重新编译模块,麻烦得很,所以我决定直接使用 Caddy 来搭建 WebDav 服务。
将服务配置打包整理,压缩为一个压缩包,最后呈以下结构:
├── adguardhome
├── ddns-go
├── gitea
├── mariadb
├── nginx
├── qBittorrent
├── rss-proxy
├── webdav
└── ztncui
把压缩包传输到新的硬盘上,并解压到 /opt 目录下:
tar zxvf server.tar.gz -C /opt
创建 Docker 容器
新建 Docker 镜像
部分服务没有官方的 Docker 镜像,需要自己构建:
qBittorrent
FROM alpine:latest

WORKDIR /app

COPY qBittorrent-nox .

RUN chmod a+x qBittorrent-nox

CMD ["/app/qBittorrent-nox"]
这里不使用 qBittorrent-nox -d 是为了让程序将运行日志直接输出到 stdout 上,方便直接用 docker 命令查询日志。
AdGuard Home
FROM alpine:latest

WORKDIR /app

COPY AdGuardHome .

RUN mkdir data conf && chmod a+x AdGuardHome

CMD ["/app/AdGuardHome" "-c" "/app/conf/AdGuardHome.yaml" "-w" "/app" "-s" "run"]
RSS Proxy
FROM alpine:latest

WORKDIR /app

COPY rss-proxy .

RUN /bin/sh -c ln -s /dev/stdout /app/log

CMD ["/app/rss-proxy" "-c" "/app/conf/config.yaml" "-l" "/app/log"]
这里的 /app/log 其实可以改成 /dev/stdout,理由同 qBittorrent。
WebDav
需要从 Caddy 官网 下载带 WebDav 模块的 Caddy 二进制程序。
然后构建 Docker 镜像。
FROM alpine:latest

WORKDIR /app

COPY caddy .

RUN mkdir conf \
	&& chmod a+x caddy

CMD ["/app/caddy", "run", "--config", "/app/conf/Caddyfile"]
构建 Docker Compose 配置
使用 Docker Compose 统一管理,同时利用 Docker network 对镜像进行网络规划,在保证安全的同时实现网络资源的划分和规整。
根据实际需求,服务容器可以分为三部分:
- 需要直接接入网络的:Nginx, qBittorrent, DDNS-GO, Adguard Home
- 只需要暴露接口,通过反向代理访问的:Gitea, MariaDB, ztncui
- 完全不需要接入外部网络,只需要在 Docker 内部访问即可:RSS Proxy
Nginx 需要承担反向代理的工作,将 Nginx 部署为桥接模式的话会由于 NAT 导致无法准确代理到其他容器的 SSL 请求,需要将 Nginx 部署为
host模式。qBittorrent 需要暴露端口进行做种,如果部署为桥接模式会像 Nginx 一样由于 NAT 的原因导致无法正常做种。
DDNS-GO 则是需要通过网卡获取物理网卡的 IP 地址,桥接的话只能获取到 Docker 虚拟网卡的 IP 信息。
AdGuard Home 作为 DNS 服务器也要避免 NAT 的干扰,
host模式是最稳妥的选择。
设计网络
为了避免和其他的 Docker 容器发生冲突,需要新建一个独立的网络。
networks:
	server:
		# 非外部网络
		external: false

		ipam:
			config:
				# 网络配置
				- subnet: 172.20.0.0/16
				  gateway: 172.20.0.1
将网络设置为网段为 172.20.0.0/16,网关为 172.20.0.1。
在配置容器时需要制定桥接模式的容器的 IP 地址,方便反向代理的定向。
Nginx
Nginx 使用 host 网络模式:
nginx:
  image: nginx:1.27.0-alpine
  container_name: nginx
  restart: always
  hostname: nginx
  volumes:
    - /opt/nginx/nginx.conf:/etc/nginx/nginx.conf
    - /opt/nginx/services:/etc/nginx/conf.d
    - /opt/nginx/ssl:/etc/nginx/ssl
  network_mode: host
qBittorrent
qbittorrent:
  image: seenight/qbittorrent-enhanced-edition:4.6.5.10
  container_name: qbittorrent
  hostname: qbittorrent
  restart: always
  volumes:
    - /opt/qBittorrent:/root/.config/qBittorrent
    - /media:/media
  network_mode: host
  depends_on:
    rss-proxy:
      condition: service_started
DDNS-GO
ddns:
  image: ghcr.nju.edu.cn/jeessy2/ddns-go
  container_name: ddns-go
  restart: always
  network_mode: host
  volumes:
    - /opt/ddns-go:/root
AdGuard Home
adguardhome:
  image: seenight/adguardhome:0.107.52
  container_name: adguardhome
  restart: always
  network_mode: host
  volumes:
    - /opt/adguardhome/conf:/app/conf
    - /opt/adguardhome/data:/app/data
    - /opt/nginx/ssl/dns:/ssl/dns
MariaDB
database:
  image: mariadb:latest
  container_name: mariadb
  restart: always
  environment:
    - MARIADB_ROOT_PASSWORD=<password>
  ports:
    - 3306:3306
  volumes:
    - /opt/mariadb/data:/var/lib/mysql
  networks:
    see2night:
      ipv4_address: 172.20.0.254
Gitea
gitea:
  image: gitea/gitea:1.22.1
  container_name: gitea
  environment:
    - USER_UID=1000
    - USER_GID=1000
    - GITEA__database__DB_TYPE=mysql
    - GITEA__database__HOST=mariadb:3306
    - GITEA__database__NAME=giteadb
    - GITEA__database__USER=gitea
    - GITEA__database__PASSWD=<password>
  depends_on:
    database:
      condition: service_started
  restart: always
  volumes:
    - /opt/gitea/data:/data/gitea
    - /opt/gitea/.ssh:/data/git/.ssh
    - /opt/gitea/app.ini:/data/gitea/conf/app.ini
    - /opt/gitea/repos:/data/git/gitea-repositories
    - /etc/timezone:/etc/timezone:ro
    - /etc/localtime:/etc/localtime:ro
  ports:
    - "2222:22"
  networks:
    see2night:
      ipv4_address: 172.20.0.3
TIP这里有个大坑,YAML 支持“以60为底的浮点数”,
2222:22会被作为2222*60+22来计算,所以要将22端口映射到物理机的2222端口需要加上引号,以声明该值为字符串类型。
ztncui
ztncui:
  image: keynetworks/ztncui:latest
  container_name: ztncui
  restart: always
  ports:
    - 9993:9993/udp
    - 3443:3443
    - 3180:3180
  volumes:
    - /opt/ztncui/etc:/opt/key-networks/ztncui/etc
    - /opt/ztncui/zt1:/var/lib/zerotier-one
  networks:
    see2night:
      ipv4_address: 172.20.0.4
RSS Proxy
rss-proxy:
  image: seenight/rss-proxy:0.1.1
  container_name: rss-proxy
  restart: always
  volumes:
    - /opt/rss-proxy/conf:/app/conf
  networks:
    see2night:
      ipv4_address: 172.20.0.5
WebDav
由于官方的 Nginx 镜像不提供 WebDav 模块,所以这里使用 Caddy 来部署 WebDav 服务。
首先我们需要一个 Caddyfile 来配置 Caddy 服务:
{
	order webdav last
}

https://dav.see2night.top {
	encode gzip

	webdav /* {
		root /media
	}

	tls /ssl/dav.see2night.top_bundle.crt /ssl/dav.see2night.top.key

	basic_auth {
		<username> <password hash code>
	}

	rewrite /remote.php/* /
}
其中 <password hash code> 可以使用以下命令生成:
caddy hash-password --plaintext <password>
将 Caddyfile 保存到 /opt/webdav 目录下。
然后配置 Docker Compose:
webdav:
    image: seenight/caddy-webdav:2.8.4
    container_name: webdav
    restart: always
    volumes:
      - /opt/webdav:/app/conf
      - /media:/media
      - /ssl/dav:/ssl
    ports:
      - <port>:443
    networks:
      see2night:
        ipv4_address: 172.20.0.6
额外配置
我的想法是通过修改 hosts 的 IP 映射规则,将 RSS 订阅的地址直接指向 Nginx,再由 Nginx 反向代理到 RSS Proxy 的指定端口,来实现对订阅的代理功能。因此需要在 qBittorrent 和 Nginx 服务中配置额外 hosts:
qbittorrent:
  extra_hosts:
    - bangumi.moe:172.20.0.1
    - acg.rip:172.20.0.1

nginx:
  extra_hosts:
    - bangumi.moe:172.20.0.5
    - acg.rip:172.20.0.5
配置预览
networks:
  see2night:
    external: false
    ipam:
      config:
        - subnet: 172.20.0.0/16
          gateway: 172.20.0.1

services:
  nginx:
    image: nginx:1.27.0-alpine
    container_name: nginx
    restart: always
    hostname: nginx
    volumes:
      - /opt/nginx/nginx.conf:/etc/nginx/nginx.conf
      - /opt/nginx/.passwords.list:/etc/nginx/.passwords.list
      - /opt/nginx/services:/etc/nginx/conf.d
      - /opt/nginx/ssl:/etc/nginx/ssl
      - /media:/media
    network_mode: host
    extra_hosts:
      - bangumi.moe:172.20.0.5
      - acg.rip:172.20.0.5

  ddns:
    image: ghcr.nju.edu.cn/jeessy2/ddns-go
    container_name: ddns-go
    restart: always
    network_mode: host
    volumes:
      - /opt/ddns-go:/root

  database:
    image: mariadb:latest
    container_name: mariadb
    restart: always
    environment:
      - MARIADB_ROOT_PASSWORD=<password>
    ports:
      - 3306:3306
    volumes:
      - /opt/mariadb/data:/var/lib/mysql
    networks:
      see2night:
        ipv4_address: 172.20.0.254

  qbittorrent:
    image: seenight/qbittorrent-enhanced-edition:4.6.2.10
    container_name: qbittorrent
    hostname: qbittorrent
    restart: always
    volumes:
      - /opt/qBittorrent:/root/.config/qBittorrent
      - /media:/media
    network_mode: host
    depends_on:
      rss-proxy:
        condition: service_started
    extra_hosts:
      - bangumi.moe:172.20.0.1
      - acg.rip:172.20.0.1

  gitea:
    image: gitea/gitea:1.22.1
    container_name: gitea
    environment:
      - USER_UID=1000
      - USER_GID=1000
      - GITEA__database__DB_TYPE=mysql
      - GITEA__database__HOST=mariadb:3306
      - GITEA__database__NAME=giteadb
      - GITEA__database__USER=gitea
      - GITEA__database__PASSWD=<password>
    depends_on:
      database:
        condition: service_started
    restart: always
    volumes:
      - /opt/gitea/data:/data/gitea
      - /opt/gitea/.ssh:/data/git/.ssh
      - /opt/gitea/app.ini:/data/gitea/conf/app.ini
      - /opt/gitea/repos:/data/git/gitea-repositories
      - /etc/timezone:/etc/timezone:ro
      - /etc/localtime:/etc/localtime:ro
    ports:
      - "2222:22"
    networks:
      see2night:
        ipv4_address: 172.20.0.3
  adguardhome:
    image: seenight/adguardhome:0.107.52
    container_name: adguardhome
    restart: always
    network_mode: host
    volumes:
      - /opt/adguardhome/conf:/app/conf
      - /opt/adguardhome/data:/app/data
      - /opt/nginx/ssl/dns:/ssl/dns
  ztncui:
    image: keynetworks/ztncui:latest
    container_name: ztncui
    restart: always
    ports:
      - 9993:9993/udp
      - 3443:3443
      - 3180:3180
    volumes:
      - /opt/ztncui/etc:/opt/key-networks/ztncui/etc
      - /opt/ztncui/zt1:/var/lib/zerotier-one
    networks:
      see2night:
        ipv4_address: 172.20.0.4

  rss-proxy:
    image: seenight/rss-proxy:0.1.1
    container_name: rss-proxy
    restart: always
    volumes:
      - /opt/rss-proxy/conf:/app/conf
    networks:
      see2night:
        ipv4_address: 172.20.0.5
启动 Docker 镜像
docker compose up -d
防火墙设置
由于 Docker 和 UFW 防火墙并不兼容,因此桥接模式的容器会绕过 UFW 的规则,而 host 模式的容器则会遵守 UFW 规则。
UFW 需要开放以下端口:
2222229876<qbittorrent>844380805533845353853
总结
目前 Home Server 稳定运行了三天,总体稳定。以后迁移起来就方便多了,把 /opt 一打包,回头 Docker Compose 直接启动,省心省力。